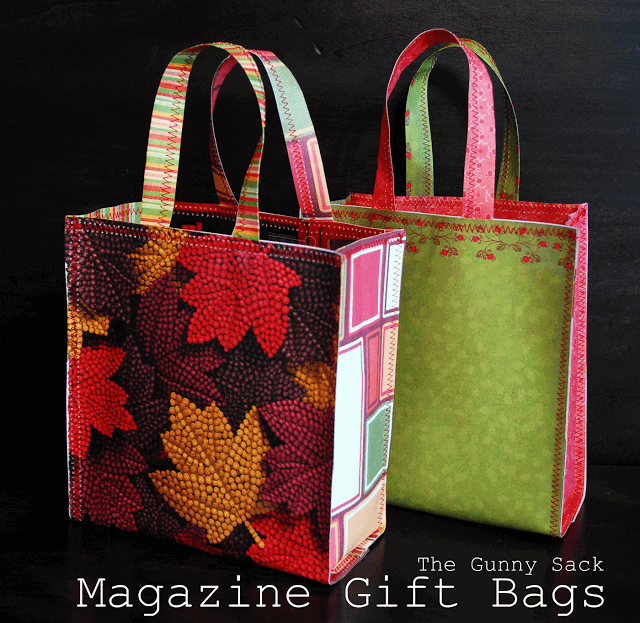
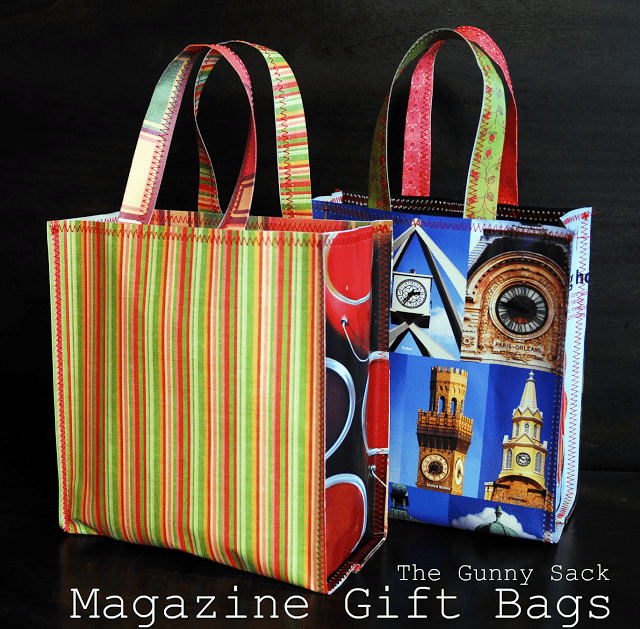
I’ve heard of people making their own gift bags using magazines or calendar pages. Then, last weekend at the craft sale, someone at another booth was using handmade bags for their merchandise! I just had to try it out myself. I think these will be perfect for wrapping Christmas gifts!
Supplies needed:
(2) 12×12 sheets of scrapbook paper
4 magazine pages
Tape runner or glue
Paper Trimmer
Sewing Machine
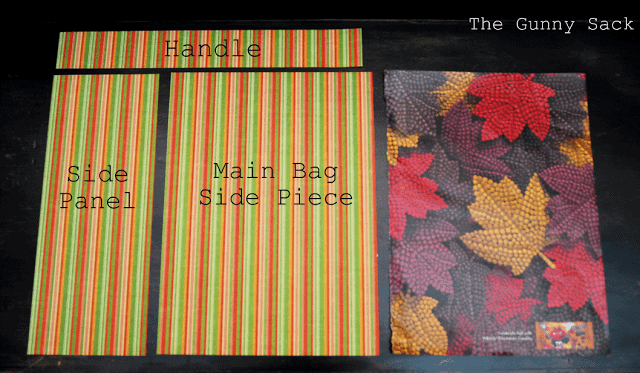
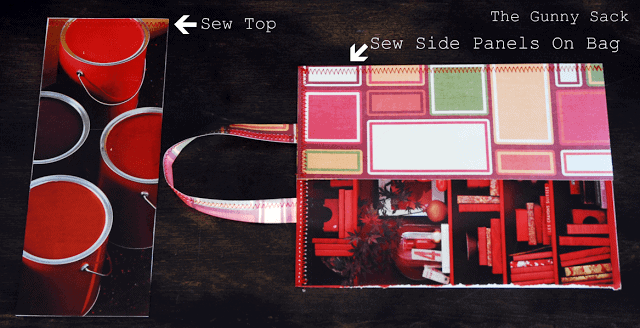
Cut the 2 pieces of 12×12 scrapbook paper as shown in this picture by using the magazine page as a pattern for the largest piece. The largest pieces of scrapbook paper will be the main pieces of the bag, the next size down will be the sides of the bag and the narrowest pieces will be the handles.
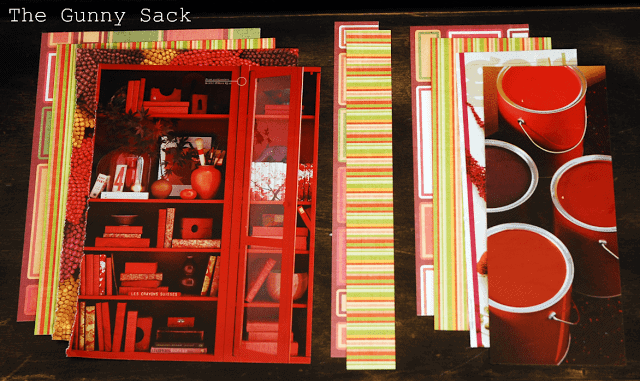
Then, cut 2 of the magazine pages to fit the 2 side pieces of scrapbook paper. Here are all of the pieces need for the bag:
Bag Sides:
2 full-size magazine pages & 2 pcs scrapbook paper of the same size
Side Panels:
2 trimmed magazine pages & 2 pcs scrapbook paper of the same size
Bag Handles
2 pieces of scrapbook paper
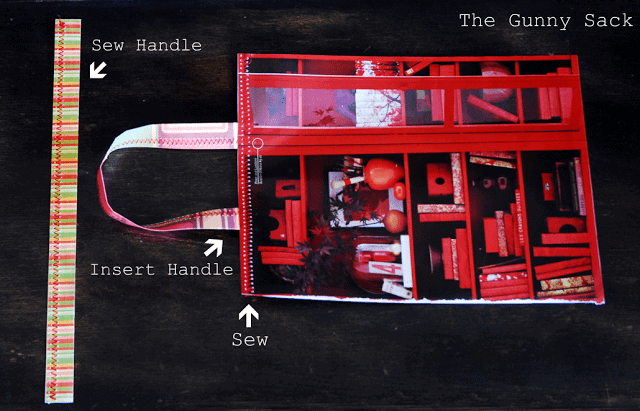
Stack 1 magazine page and 1 piece of scrapbook paper, wrong sides together and hold together loosely with a small line from the tape runner. Fold the piece of paper for the handle in half lengthwise and sew shut with a zig-zag stitch. Insert the handle ends between the 2 pieces of paper and sew shut.
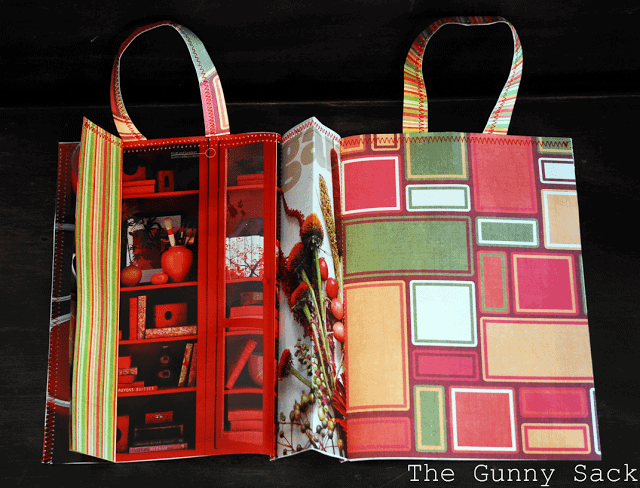
Stack the side panel pieces wrong sides together and hold together loosely with a small piece from the tape runner. Sew the top and then sew the side panel to the bag. I tried to mix up the magazine pages and the scrapbook pages so that some were on the inside and some on the outside.
Fold the side panels and then sew the 2nd bag side onto the side panel. Then, fold bag together and sew the far right side to the far left panel.
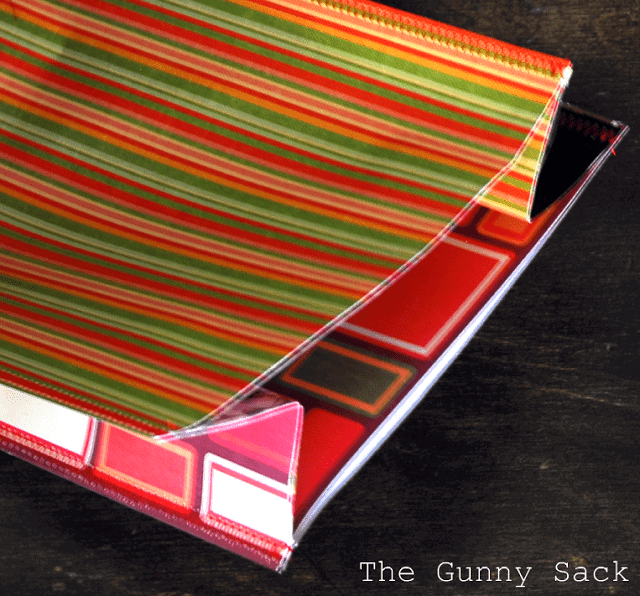
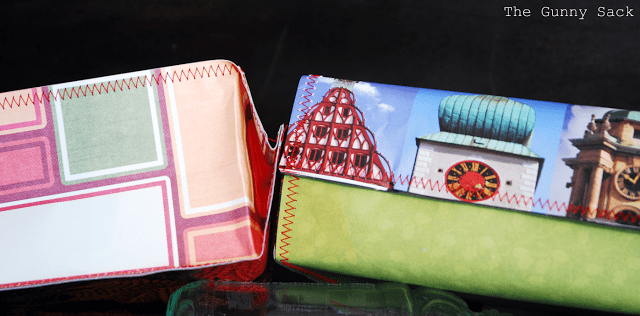
Now, the bottom of the bag looks like this…but not so blurry…close it up and sew straight across the bottom, sewing the side panels to the bag sides.
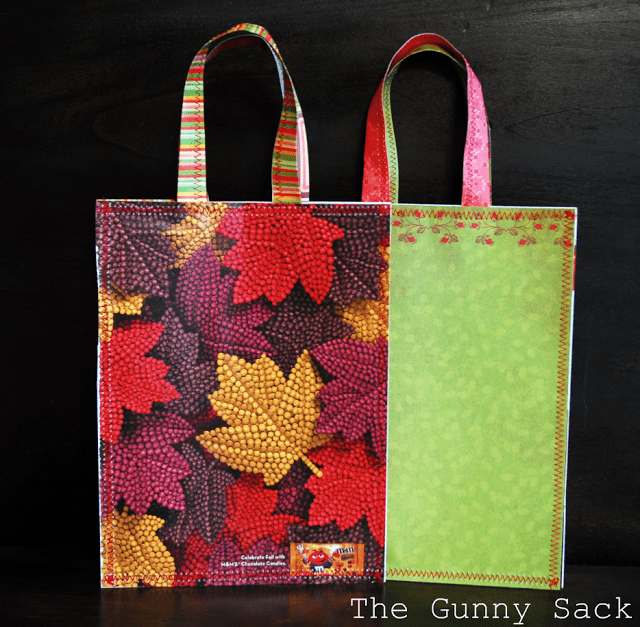
And the bag is fully sewn!
If you want a flat bottom on the bag, gently open and crease the sides so the bottoms look like this.
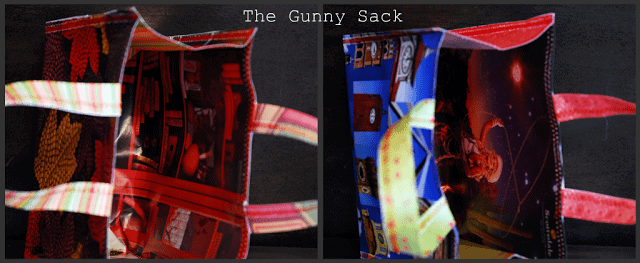
Here is the interior of the bags…adorable!
A great way to customize these would be to use magazine pages that coordinate with the gift you are giving. If you are giving goodies, use magazine pages that show food. If you are giving a baby gift, use magazine pages that show babies or baby gear and so on!

Floyd Gary Clyne says
I wonder if it is possible to use lamination in the process to make these bags more permanent. Great idea.
Danielle says
new follower:>
Danielle says
This is so fantastic and what an awesome idea!! LOVE it! I am going to try this one out! It would make great gift bags for a birthday or something. I having a Home Year linky party over on my blog Blissful an dDomestic and would love for you to link this up:>
Have a fabulous week!
http://blissfulanddomestic.blogspot.com/p/my-homemade-year-linky-party.html
Tina says
Wow, what a neat idea! I’m not good at crafts, AT ALL, but this looks like a really fun and easy project. When I give a gift, I like to make the wrapping of it also part of the gift, and these bags are a perfect example of that.
Tina @ Life is Good
Rebekah Greiman says
LOVE this! Found you through HOH and just had to see how you did this. Thanks for sharing this great tutorial! Have a great (early) weekend.
http://www.potholesandpantyhose.com
Carissa says
This is pretty much amazing., Thanks so much for sharing! I found your project on Pinterest and will definitely be trying it this week.
Cheers! Carissa from Carissa’s Creativity Space
Jamie says
Those are AMAZING!!
Jamie
http://diyhshp.blogspot.com/
Allison @ House of Hepworths says
You are awesome so I featured you at my Hookin Up with HoH Party!
Feel free to stop by for a button if you’d like. 🙂
xoxo
Allison @ House of Hepworths
Katie's Nesting Spot says
Fabulous idea, I just started stitching on paper and have a huge collection of scrapbook papers. These would be great for all the extras. Thanks for linking up to A Crafty Soiree, I featured you this week.
Adelina Priddis says
Love it!!!
Megan says
i knew there was a good use for all those magazines I don’t need anymore! Thanks for the great tutorial! They are beautiful.
Megan @ The Crafty Conunrum
House Revivals says
What a fantastic idea! I’ve linked to this post from my Facebook page.
Andrea says
Now that is COOL! I have seen a lot of crafts on blogs and this maybe my favorite! The bags are so eye catching. LOVE IT LOVE IT LOVE IT! I am newer to blogging and trying to use giveaways to get some attention lol. Come see what I mean.
Jenn says
I never knew you could sew paper? I really need to learn to sew, because I would totally try this. I stumbled this!
Lindsay says
Thanks for sharing at Show & Share, friend! I just adore you!
Sue Frazier says
what an awesome idea! great project!
Christina at I Gotta Create! says
These are Fabulous, Tonia! So colorful, useful, AND it’s upcycling! I’d be thrilled if you shared this at my “Abundant Thanks” linky party.
CAS says
Wow, this is one of the cutest craft projects I’ve seen in a long time! I’m new to your blog but already following, & I can’t wait to “snoop” around your blog for more fun & inspiration!
🙂 CAS
Happy in red says
So, you’re sewing paper? That’s brilliant! And that makes for such nice gift bags. Really fantastic.
Esther.
Elizabeth says
Adorable! Love these!!
Tricia says
So neat!
sherri lynn says
This is such a good idea! I always have tons of magazines laying around and all with such pretty pictures!
Anne @ Domesblissity says
Oh Tonia! How beautiful. I’ve heard of this with folding and gluing but not with sewing. How wonderful! And wonderful papers you’ve chosen. How did your sale go?
Anne xx
Amy of The Salvage Collection says
okay, one more reason i need to learn to sew! this is an awesome tutorial! great photos, too!
amy
Katie says
LOVE this idea to make your own bags. I’ve never thought to do this before!!!
Lindsay says
Such a cute little craft! These would make for some really fun gift bags! Great tutorial!