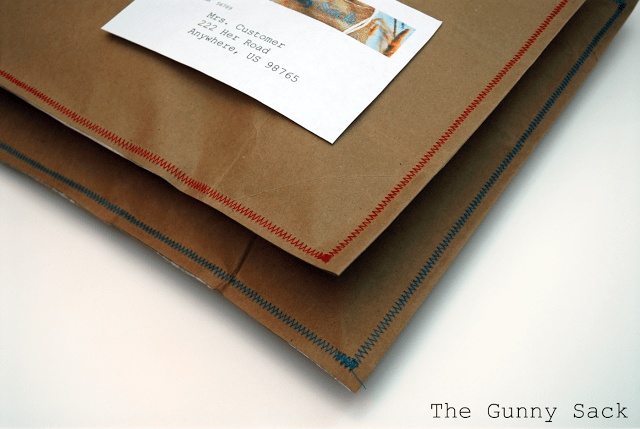
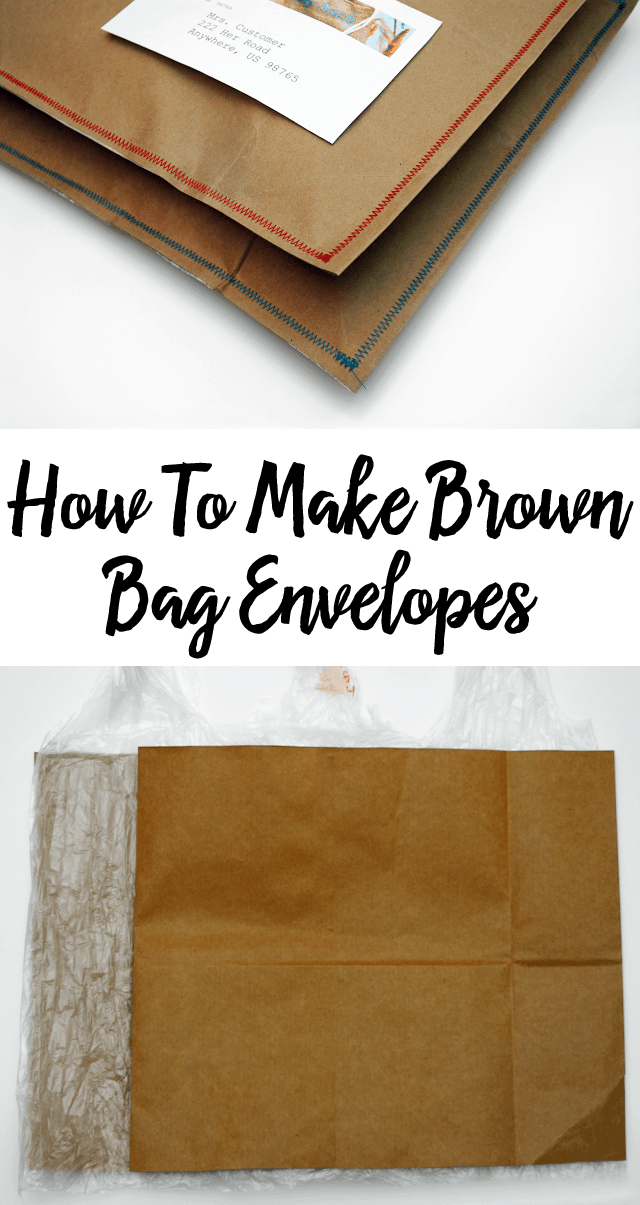
Here’s How To Make Brown Bag Envelopes for shipping packages or for wrapping gifts. These custom envelopes are cheap, easy to make, and will stand out!
As you already know, I have an Etsy store but I also sell stuff on eBay occasionally. As you can imagine, at times, I am doing quite a bit of shipping.
The cost of the shipping supplies such as envelopes, boxes, tape, labels, and bubble wrap can really add up.
I have heard of people making their own mailing envelopes and I really like the idea of having custom packaging stands out to my customer as being different and makes a lasting impression on them.
So I decided to make my own custom brown paper envelopes with colorful stitching around the outside.
How To Make Brown Bag Envelopes
Disclaimer: This post contains links to products for making this recipe. If you use those links, I may earn a commission. Learn more here.
Step One: Brown Paper
It starts with the lowly brown paper bag if you have any available. This is the cheapest option because it is free.
The second option is to purchase brown craft paper that you can use to make multiple envelopes.
Step Two: Open Bag
If using a brown paper bag, you’ll need to cut the bag open so that it can lay flat. Cut down the side of the bag and then cut off the bottom.
Step Three: Measure
Fold the bag in half and lay flat. Measure and trim the bag so that it the right size depending on what you are shipping. I was shipping men’s shirts so I did 13×17 inches.
Step Four: Make A Flap
Fold back one side of the paper a few inches. This will be the opening of the envelope and it creates a flap that can fold over.
Step Five: Lining
To reinforce the bag and to make it water-resistant, line it with plastic. The cheapest option is to use a plastic grocery sack that you already have on hand.
Another option is to purchase a roll of plastic sheeting that can be used to make multiple envelopes.
If using a plastic grocery bag, cut the bottom off so that the plastic can be laid down flat.
If using plastic sheeting, cut two pieces of plastic that are slightly large than the brown paper pieces.
Step Six: Assemble
Spread the plastic bag (or plastic sheeting pieces) flat and lay inside the trimmed brown paper bag.
Step Seven: Sew
Sew around the perimeter with a contrasting thread in a wide, narrow zig-zag stitch. Reinforce the start, the corners, and the end.
Step Eight: Trim
Trim the extra piece of plastic from around the brown paper envelope and from the opening.
Step Nine: Label
Print out a custom label with your logo on it and tape it to the envelope.
Don’t the envelopes look so unique and cheerful with the colorful stitching around the edges? These envelopes could also be used to wrap gifts for birthdays or holidays.
Once you learn how to make brown bag envelopes you’ll think of so many ways you can use them!
Looking for More Paper Bag Tutorials? Try These Next:
Use brown paper bags to make Al Fresco Dinnerware Packets to hold a napkin, plasticware, and a straw for parties, weddings, celebrations or for a picnic.
White paper bags make fun Hole-y DIY Gift Bags that can also be used as Easter baskets! Add colorful tissue paper or paper grass that will show through the holes in the bag.
Printed Brown Paper Lunch Bags are the EASIEST way to make pretty, customized bags that can hold a lunch or be used as treat bags or party favors.


Pharaba says
I’m in a panic bc The Amazon Truck is on the way and my returns aren’t ready! lol I’m dashing downstairs to my studio to MAKE my own mailers!! Seriously. This is a darling idea! I adore the cherry stitching and I hate wasting it on The Amazon Delivery Man, but I’m sure he will appreciate it in his own brown way. Thanks so much! Here goes!!
Laura says
I love this so much and you’re recycling too!! Thank you so much for sharing.
Stephney says
I love your brown paper bag idea. I never thought of that. Thank you.
Blackbird says
Hi! I was just wondering how much it would cost to mail one of those homemade envelopes?
Shore Girl says
Featured this frugal idea today in my ‘Walk Around Blog Land.’ http://estherscardcreations.blogspot.com/2011/08/walk-around-blog-land-9.html?showComment=1312459237792#c1832767651519879124
allenaim photography and design says
oh heavens…PINNING! Love this!