
This tutorial for a handmade back to school Backpack Tag shows how to make a custom ID tag for information such as teacher, bus number and phone number.

When my kids go back to school, I am always worried they will not remember their room number or bus number and get lost. I know that the teachers are looking out for all the kids but I want my kids to feel confident that they know where they are supposed to go too!
So, I always make them a notecard with their information on it and stick it in their backpack. This year I decided to make a fabric tag to house the small note!
Backpack Tag Tutorial
>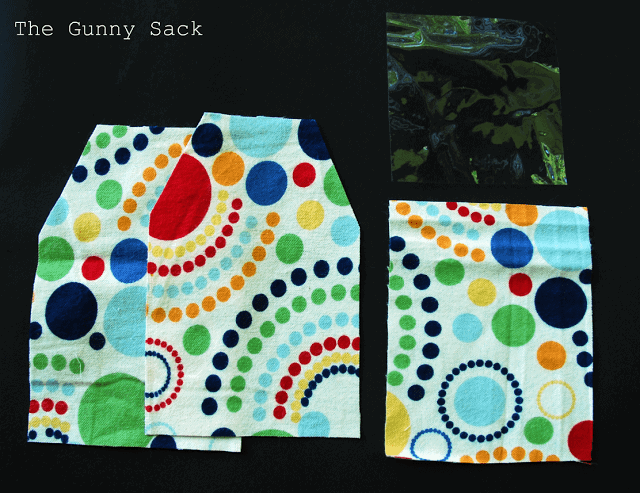
Cut out:
(2) 4×6 inch pieces of fabric with the corners clipped on one end
(1) 4×5 inch piece of fabric
(1) 2×31/2 inch piece of heavy plastic or vinyl
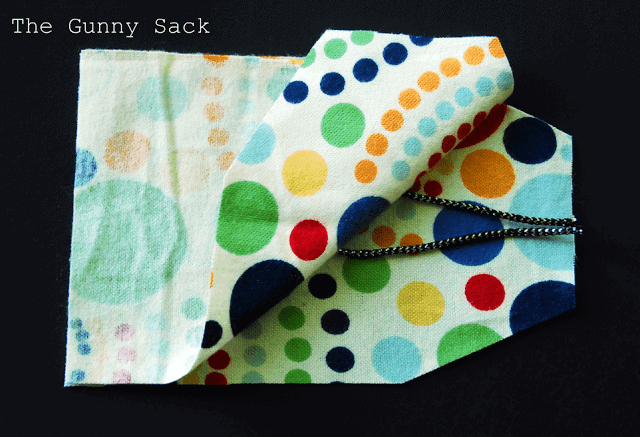
Cut (1) 7-inch long piece of nylon cording (or ribbon) and sandwich it between the two 4×6 inch pieces, right sides together.
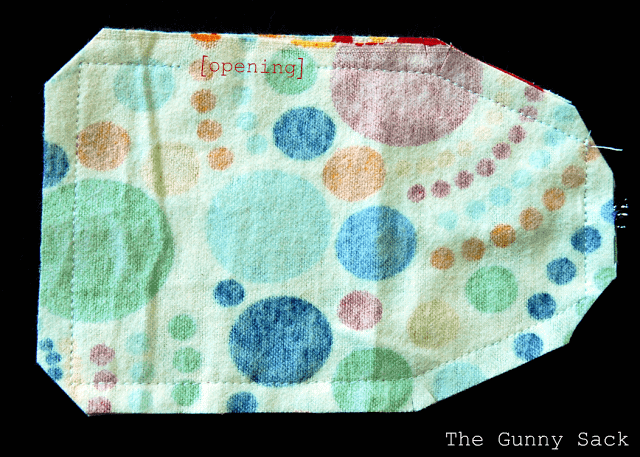
Sew around the edge of the piece, leaving an opening on one side. Then, clip the corners and make small clips at the 2 wide angles (one is by the T in The).
Turn the piece right side out and push out corners with a scissor tip.
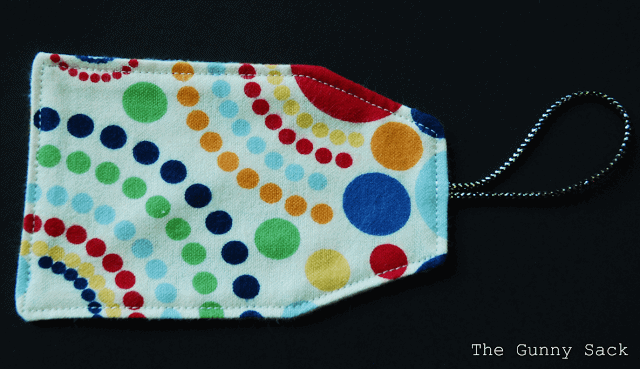
Press flat and topstitch around the piece (backstitch a few times on the nylon cording to help hold it in place)
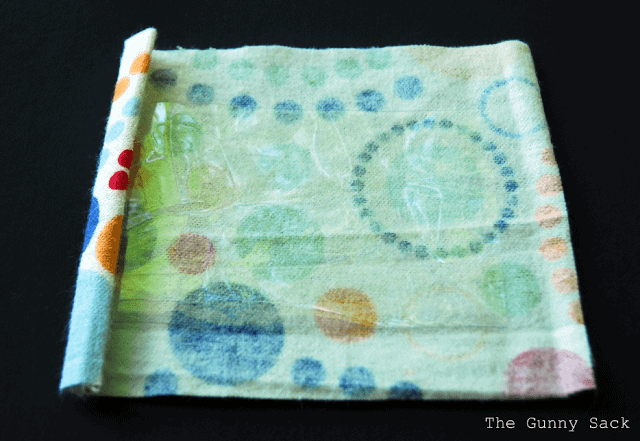
Center the piece of vinyl on the 4×5 inch piece of fabric. Fold the fabric edges over the plastic with a double fold so the seams are tucked inside. Pin the folds in place if it helps.
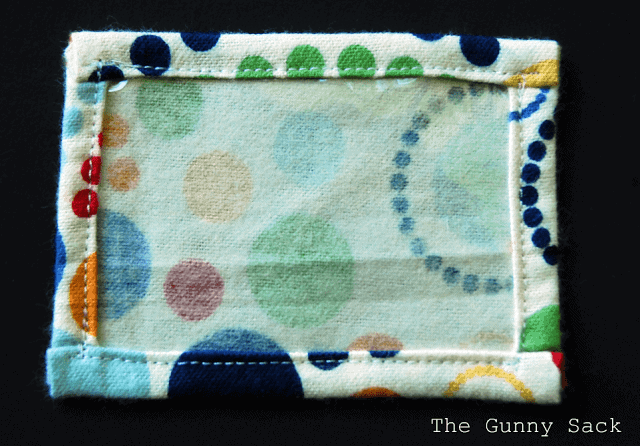
Sew the fabric edges onto the vinyl.
Flip over and cut away the fabric being extra careful not to cut the plastic.
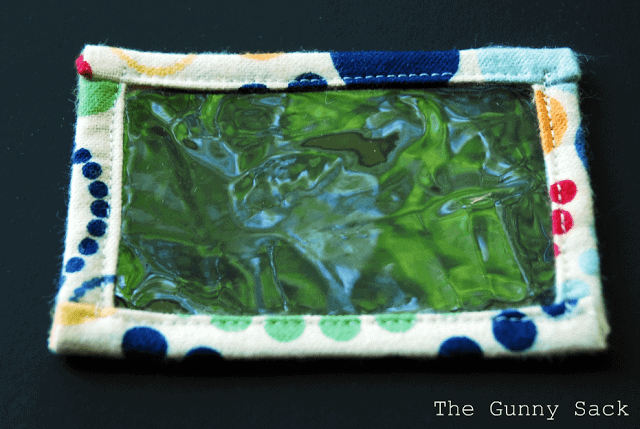
Now it’s a clear, framed window!!
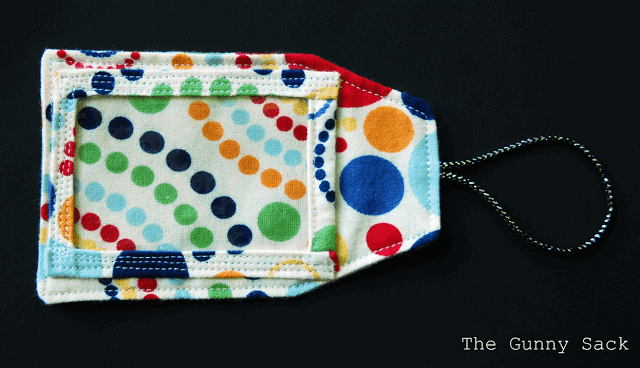
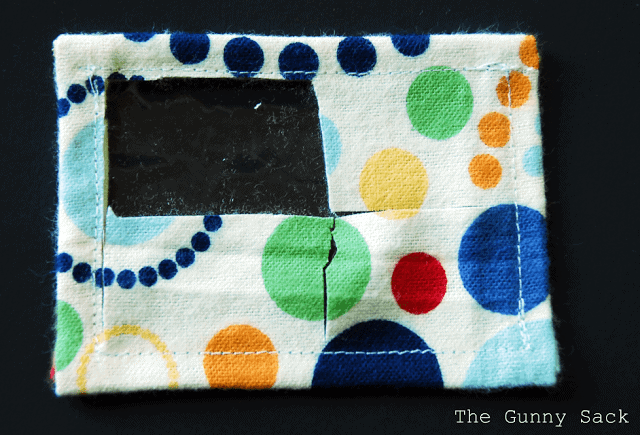
Sew the window onto the backpack tag leaving the right side OPEN so you can slide the information sheet inside! I sewed it twice and you can see how right side is not stitched so many times.
Print or write your child’s information onto a 2×3 inch piece of paper and slide it in behind the window. (I also like to include me and my husband’s cell phone numbers on the back)
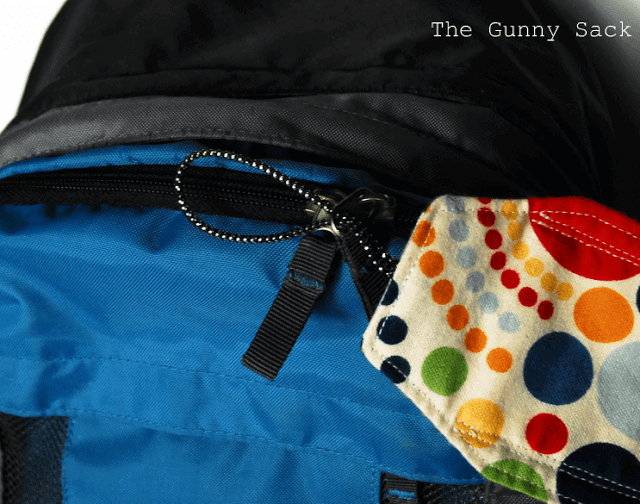
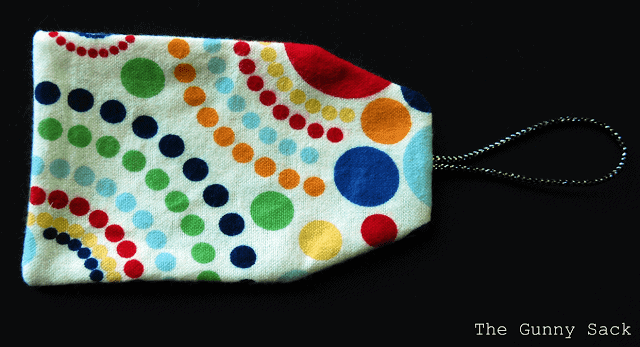
Attach the backpack tag to your child’s backpack by putting the nylon cord loop through the zipper pull…
…putting the backpack tag through the loop…

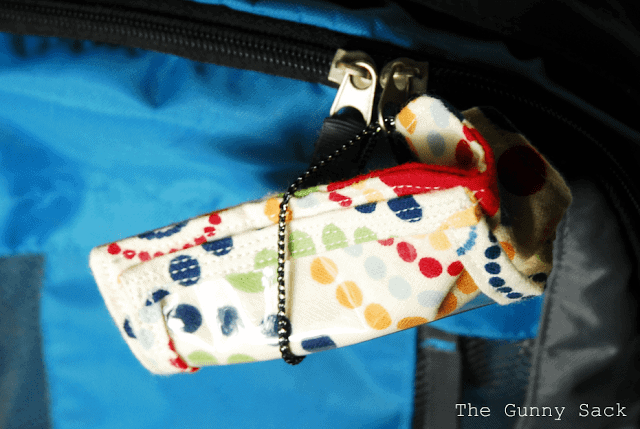
…pulling it tight.
(It is actually easier to put the piece of paper in now!)

Cindy says
I will be making this for my son’s backpack this year.
Thanks for a great tutorial! I’ve linked you to my blog, SEW that!
http://www.sewthat.blogspot.com
Tanya Anurag says
Thanks for linking. The party for this week – Tea Time Thursdays @ Kreative Korner – is on. Hope to see you there with latest posts.
http://tanyaanurag.blogspot.com/2011/08/tea-time-thursdays-2-and-features.html
Melanie @ bear rabbit bear says
How cute! Thanks so much for sharing!
I’d love to have you visit our first linky party this Thursday! It’s a party specifically for kids and teenagers craft and other ideas, so your idea will be absolutely perfect! Hope you’ll stop by!
bearrabbitbear.blogspot.com
Tanya Anurag says
This is so cool. With all these awesome sewing ideas afloat in blogland, I am inspired to learn sewing.
I am hosting my first link-up party – Tea Time Thursdays @ Kreative Korner. Would be glad to see some of your awesome posts there. Hope to see you at the party.
http://tanyaanurag.blogspot.com/2011/08/celebrating-one-party-time.html
Rachel says
These are so cute! Your tutorial is also easy to follow. I love the fabric.
I would love it if you would stop by and link this up to the crafty link party going on now at Lines Across My Face.
🙂 Rachel
http://linesacrossmyface.blogspot.com/2011/08/cure-for-common-monday-3-craft-link.html
Amanda says
What a cute idea, and just change the fabric for boys or girls, love that!
I run Fun Family Crafts, a site similar in nature to Craftgawker and Spotlight, but different in that it’s a library of craft tutorials geared only at kids. I would love it if you’d stop by and submit this to be featured! (I link to you, I don’t post your tutorial on the site) Feel free to submit as many kid friendly craft tutorials as you like! http://funfamilycrafts.com/
Natasha says
Great idea!! i could do with some of these when my son goes back to school in September
KooKooCraft says
I love it!
Tracy @ CraftJunkieToo.com says
Hopping over from Ladybug Blessings linky party….What a wonderful crafty project :)I’d like to invite you to link your projects up at my weekly linking party at Craft Junkie Too. We’d love to have fabulous projects to share….:)TracyT.G.I.F. Linky Party at Craft Junkie Too
www.StarHughes.com says
LOVE this idea! I definitely want to do this for some of my suitcases! So cute, and I’ll be able to tell which bag is mine so easily too!
Ashley@EisyMorgan says
Great idea! People are already commenting to me about them at my party:) Thanks for linking up!
cindy says
I’ve been looking for a tutorial on luggage tags, but didn’t think about backpack tags! My kids will love this for school on Monday! Thanks.
The Miller's @ Prezidential Life says
Thanks for sharing that with us!
the fabric is so fun! That would be perfect for luggage too! I even want one for mine 🙂
thanks again!
The Miller’s
Prezidential Life