
This post may contain affiliate links. Please read my disclosure policy.
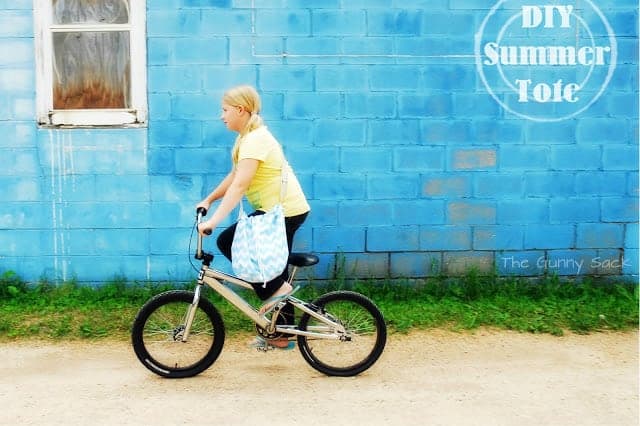
With the arrival of summer, there are so many things that need to be carried around in a tote!
Beach towels & Sunscreen
Water Bottle & Picnic Lunch
PJs for a Sleepover
Library Books and so on
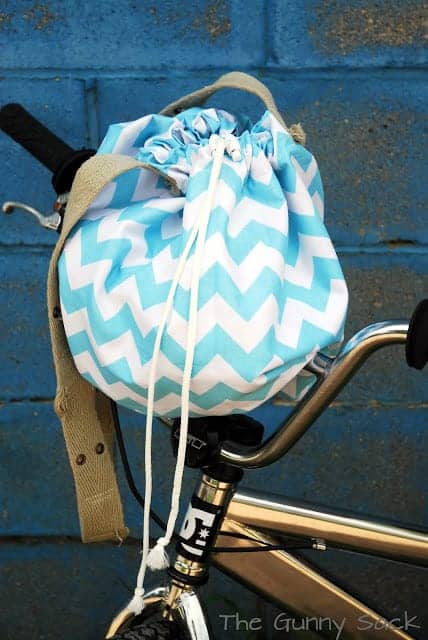
There are totes in every style imaginable, but 2 of the important features of a good summer tote are a closure on the top of the bag and a strap that can be slung across the body to keep your hands free.

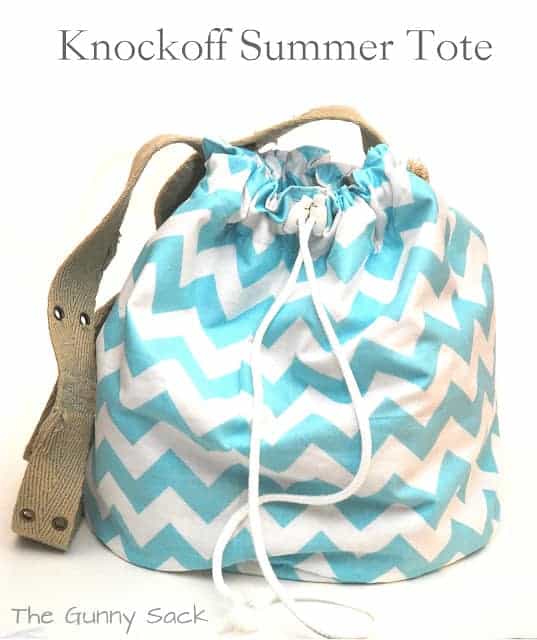
I started browsing and pinning cute bags and totes until I found a J.Crew Mochila Bag for $295.00! I decided to try to make this bag for a whole lot less.
Okay, I am going to attempt to explain to you how I made this summer tote.
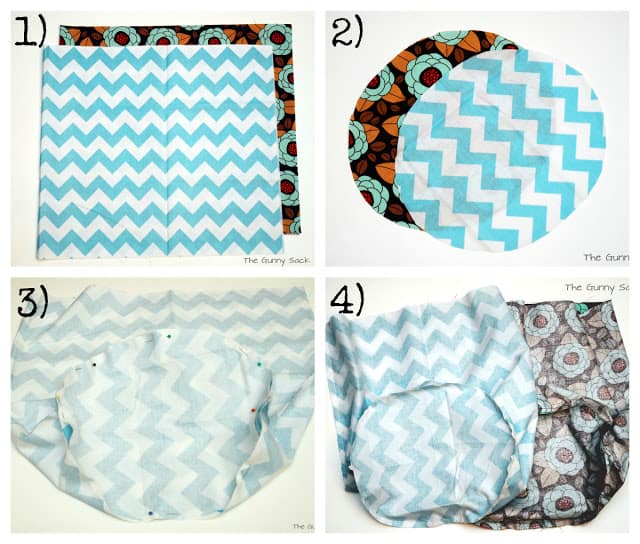
1) Cut 1 rectangle of each fabric so that it measures 16 x 36 inches. Fold the rectangles in half, right sides together and sew along the edge opposite the fold but leave the top and bottom open.
2) Cut out 2 ovals that measure approximately 10 1/2 x 11 1/2 inches
3) Pin the ovals to the bottom of the sewn rectangles.
4) Sew the ovals in place. I had to do a bit of coaxing to make the ovals fit, but since this will be a scrunchy bag, that won’t matter.
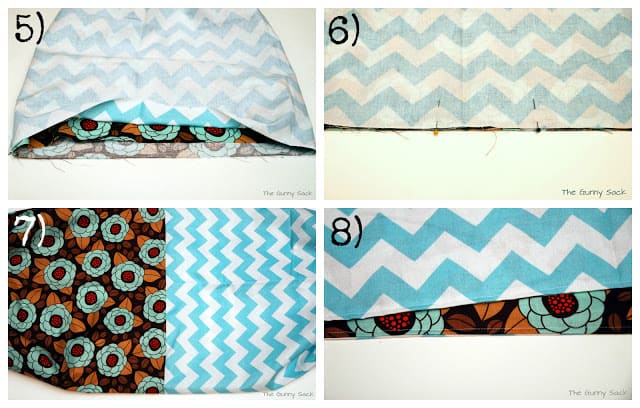
5) I placed the flowered bag inside the chevron bag, right sides together.
6) I pin it in place and marked off an opening several inches wide where I did not sew. Then, I sewed the 2 bags together, around the top edge except between the 2 pins that are marking the opening.
7) I turned the bags right-side-out through the space that was left open in step 6. Then, tuck the flowered bag inside the chevron bag. I love that all of the raw edges are hidden inside the tote!
8) Next, I top-stitched along the entire top of the tote, and this closed the small opening.
Next, it was time to attach a strap. I am by no means an expert sewer, but I figured out a way to attach the strap while still leaving room for the cording to fit through. I’m sure there is an easier way than the one I came up with, but I haven’t a clue what it is.
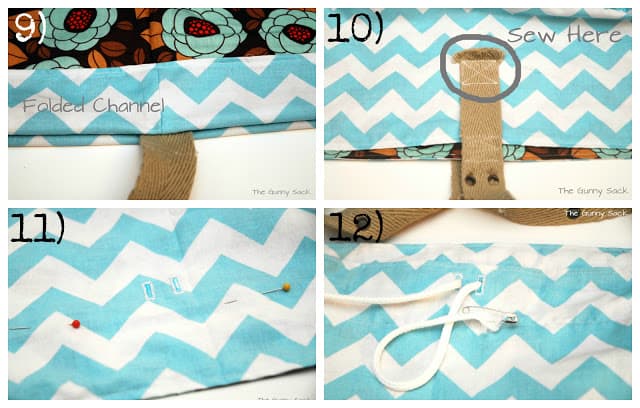
9) First, I turned the bag inside out, folded down a channel for the cord, and put the 45-inch strap (an old belt) in place. I pinned the strap to the bag but not the folded channel.
10) I unfolded the channel, turned the bag right side out, and sewed the strap in place only at the bottom. The rest of the strap was loose, so I will be able to make that channel for the cord!
11) I made 2 buttonholes, again placing them below the channel fold, which I have marked with 2 pins. Then, I folded down the 2-inch cord channel and sewed it in place. I top-stitched around the entire top of the bag to give it a finished look.
12) I cut open the button holes and threaded the cording through the channel, inserted cord stops, and tied knots in the ends.
I did not end up using the pom pom fringe for this project.
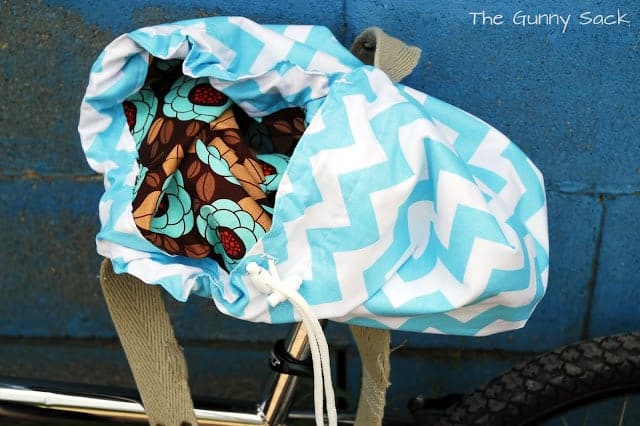
I love that the inside of the tote is a surprising contrast to the outside and is only visible when someone opens up the bag to reach inside.
Andrea says
I LOVE LOVE LOVE this project! Great directions and pictures! I made one for me, and a smaller one for my 2-year-old (14″x32″ for the big rectangles and 10″x11″ for the ovals). Yours is super cute with the aqua chevron fabric! My little one was so excited because she got to pick out her own fabric and strap color : ) Thanks so much for posting!
Tonia says
You are very welcome and thanks so much for stopping back to let me know. I made this bag a couple of years ago and we are still using it this summer!
Amanda says
What a great project! I’ve featured it today on Copycat Crafts 🙂 http://www.copycatcrafts.com/summer-tote-inspiration/
Jessica at Me Sew Crazy says
This is so cute Tonia! Saw this on Pinterest and had to click on over! Isn’t that zig zag fabric just the best?!! I hope you will consider uploading a photo of this into SewSet, a new on-line sewing pattern & tutorial Search Engine. I would love to have this, and some of your other sewing tutorials, in the directory for people to find them and you!
Thanks so much for sharing, I love it!!!
– Jess
SewSet.com
MeSewCrazy.com
Kristin says
So cute and you did a fabulous job 🙂
Visiting from Southern Lovely
Debra Kapellakis says
You did GOOD!
2busy says
I love it! Nice job
Anne @ Domesblissity says
What a gorgeous bag Tonia and gorgeous fabric. Just lovely. I’d love one for my gym gear. I’m just using a shopping bag at the moment. How slack am I. Just need to find time to drag out the sewing machine. (It has been on the blink for about 12 months now but no excuses anymore. I inherited Mum’s machine.)
Anne xx
Rhonda says
I love this – especially that aqua chevron. *swoon*
I’ve gotta make these for my girls for this summer!
Sita says
Love the tote! Makes me wish I could sew!
Rach H @ FamilyEverAfter says
You did so great! And I just love the photography, especially that first picture in front of the blue building. Great work! 🙂
Lindsay says
Your fabric is so adorable! And I absolutely love the finished project, you did great!
Rica says
Love this! I have been debating on making my own diaper bag and this gives me so much inspiration.
Ginger says
So cute! I might attempt this! Love the first picture, too! 🙂
Trish says
Love that bag! Great job.
Morgan says
This is super cute! Great job!